Real wood furniture is an investment worth protecting. Whether you have a beloved dining table, a handed-down dresser, or a custom piece you carefully chose, scratches happen. The good news? Most scratches in wood furniture are fixable, and you don’t have to be a professional woodworker to do it.
Why Wood Furniture Is Worth Repairing (Not Replacing)
Before diving into the repair methods, it’s worth talking about why real wood furniture deserves the effort in the first place. Unlike particleboard or veneer furniture, solid hardwood pieces can be sanded, refinished, and repaired repeatedly over their lifetime. A scratch that would destroy a laminate tabletop is nothing more than a minor setback on a solid oak or walnut surface.
According to the American Hardwood Information Center, hardwood furniture can last for generations when properly maintained. That durability is part of what makes real wood furniture such a smart long-term investment for homeowners. When you repair a scratch rather than replace the piece, you’re preserving both the character of the wood and your wallet.
With that in mind, let’s walk through everything you need to know about how to repair scratches in wood furniture — from identifying the type of scratch to choosing the right fix.
Step 1: Identify the Type of Scratch
Not all scratches are created equal. The repair method you use depends heavily on how deep the damage goes. There are three main categories:
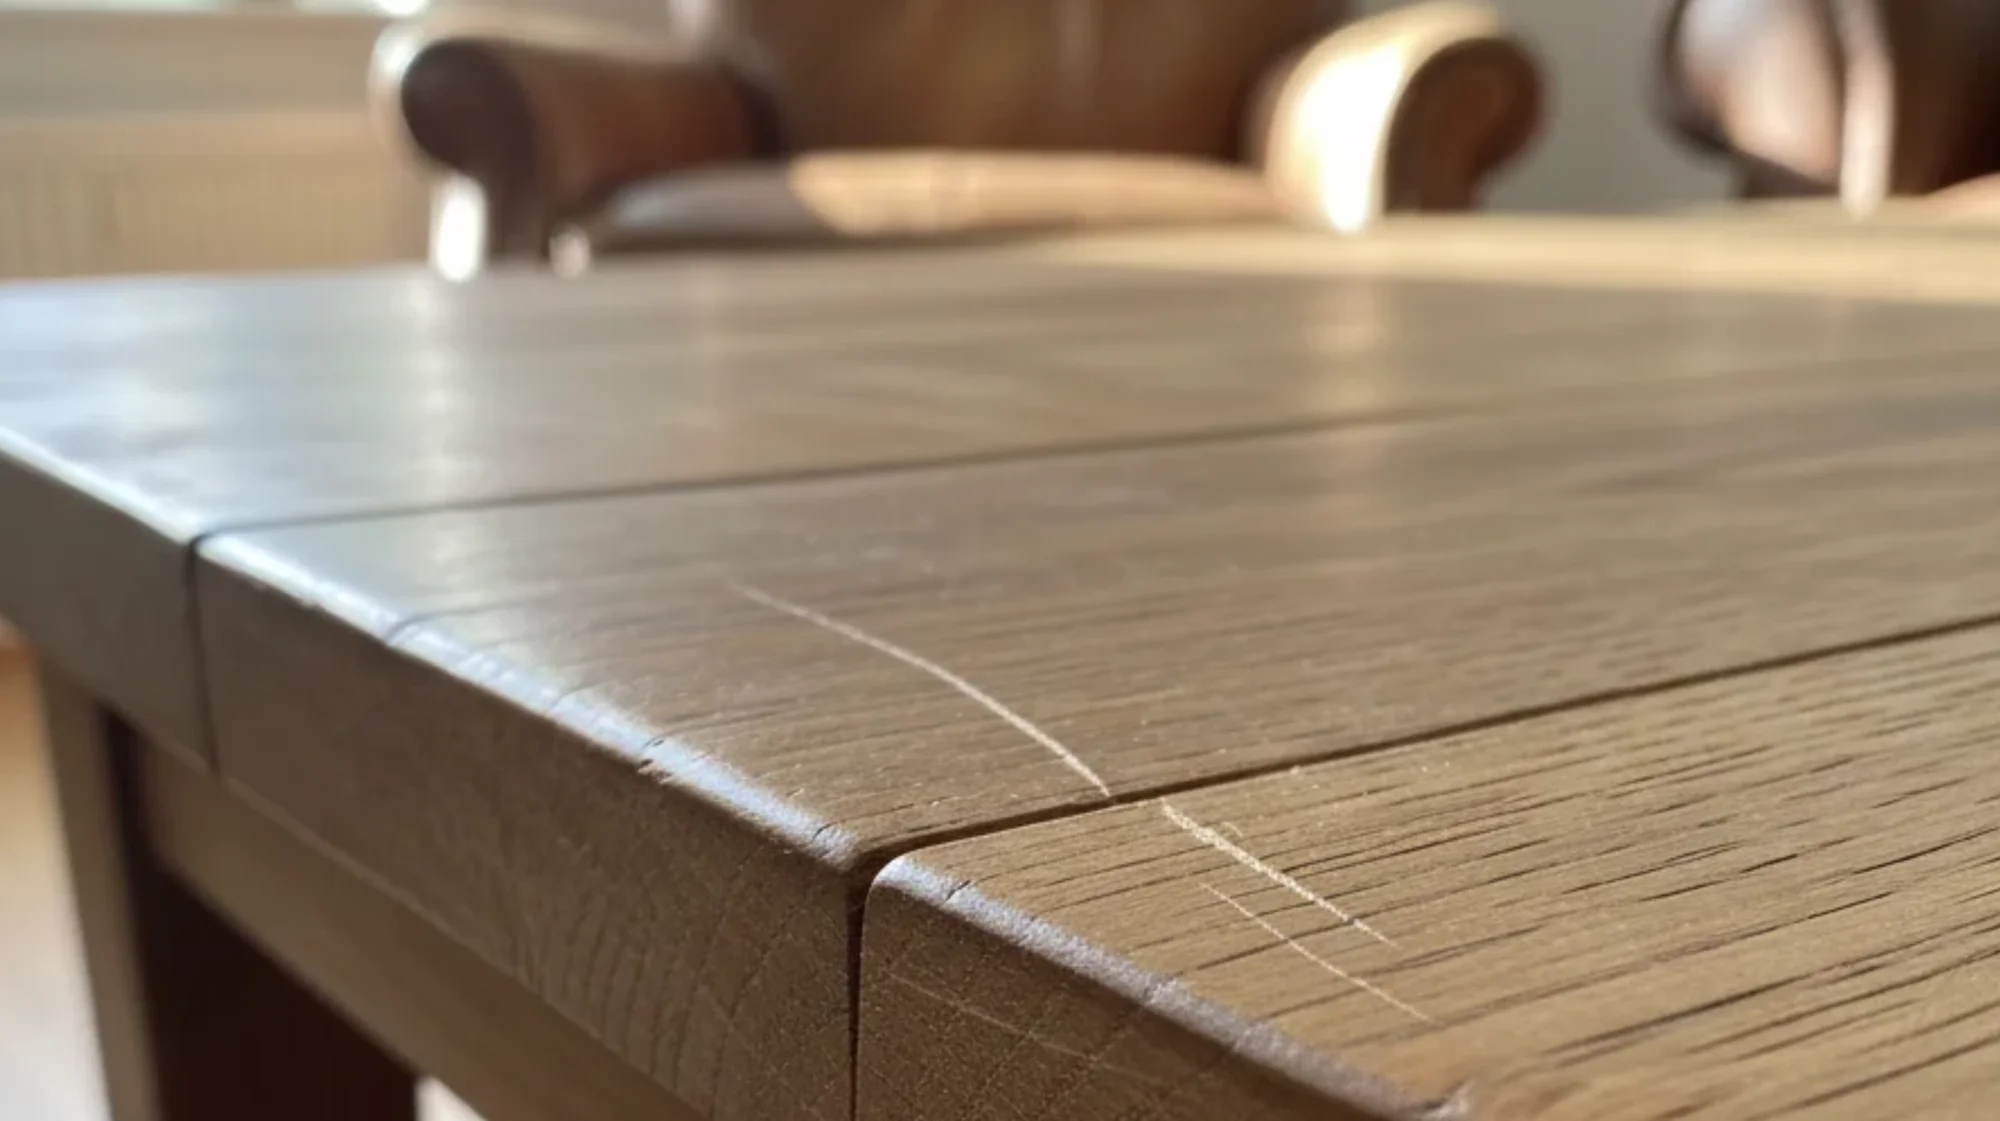
Surface scratches only affect the finish (the clear coat, paint, wax, or stain on top of the wood). The wood grain itself is untouched. These are the easiest to fix and often require nothing more than a polish or wax.
Mid-level scratches cut through the finish and lightly score the wood fibers beneath. You’ll be able to feel these with your fingernail. They require a bit more effort, typically a filler, touch-up marker, or light sanding, but are still very manageable as a DIY repair.
Deep gouges remove actual wood material. These are the most challenging to address and may require wood filler, putty, or in severe cases, professional refinishing. That said, they’re far from hopeless, especially on solid wood.
To identify your scratch type, run your fingernail across it. If your nail glides over it, it’s likely a surface scratch. If it catches, you’re dealing with something deeper.
Step 2: Gather the Right Supplies
Having the right tools on hand makes the repair process much smoother. Here’s what you might need depending on the severity of the scratch:
- For surface scratches: Furniture polish, paste wax, wood conditioner, or a scratch-concealing polish like Old English or Howard Feed-N-Wax
- For mid-level scratches: Wood touch-up markers or wax sticks (available in various stains to match your wood tone), fine-grit sandpaper (220-grit or higher), Danish oil or wood stain
- For deep gouges: Wood filler or epoxy wood filler, putty knife, sandpaper in multiple grits (80 through 220), stain to match, and a topcoat finish (polyurethane, lacquer, or oil)
- For all repairs: Clean cloths, painter’s tape, a well-lit workspace, and patience
Matching the stain or finish is arguably the most important step. If you can bring a small sample of the furniture or even just a clear photo to a local lumber or woodworking store, staff can often help you find a close match.
Step 3: How to Repair Surface Scratches in Wood Furniture
Surface scratches are the most common complaint among wood furniture owners, and they’re also the easiest to resolve. Here are several approaches:
Method 1: Furniture Polish or Wax
Apply a small amount of paste wax or furniture polish to a soft cloth and rub it into the scratch using a circular motion. Buff it out with a clean section of the cloth. This works especially well on lightly finished or oiled wood surfaces and can make surface scratches virtually disappear.
Method 2: Walnut or Pecan Trick
This is a surprisingly effective old-school remedy: rub the meat of a shelled walnut or pecan directly into the scratch. The natural oils in the nut penetrate the wood and help disguise light marks. Let it sit for a few minutes, then buff with a soft cloth. It won’t work on deep scratches, but for fine surface marks, it’s remarkably effective.
Method 3: Mayonnaise or Olive Oil
For minor surface scratches on oiled or waxed wood finishes, a dab of mayonnaise or olive oil rubbed in and left for a few hours can help the wood absorb moisture and reduce the visibility of light marks. Wipe away the excess and buff dry. This is a temporary fix at best but can work in a pinch.
Method 4: Touch-Up Scratch Concealer
Products like Minwax Stain Markers or similar touch-up pens are designed specifically for surface-level scratch repair. Choose a color close to your furniture’s finish, apply sparingly, and wipe away any excess. These are available at most hardware stores and home improvement retailers.
Step 4: How to Repair Mid-Level Scratches in Wood Furniture
Mid-level scratches that have broken through the finish and lightly damaged the wood require a slightly more involved approach.
Sanding and Restaining
If the scratch is isolated, you can carefully sand the area using 220-grit sandpaper, always following the direction of the wood grain. Never sand against the grain as it will create additional scratches that are harder to remove. Once you’ve smoothed the area, wipe away the dust with a tack cloth, apply a matching wood stain with a small brush or cloth, let it dry, and apply a matching topcoat.
This method gives you the cleanest result but requires a careful hand and a good stain match.
Wax Filler Sticks
Wax filler sticks (sometimes called burn-in sticks or furniture wax sticks) come in dozens of wood tones. You simply rub the stick into the scratch until it’s filled, scrape away any excess with a plastic card or putty knife, and buff the area smooth. These are especially useful for scratches that are too deep for polish alone but not severe enough to warrant full sanding.
Iodine, Shoe Polish, and DIY Stains
For darker wood tones like walnut or mahogany, a very light application of iodine or brown shoe polish can tint the exposed wood and reduce contrast. Use a cotton swab for precision and blend outward. This is a temporary solution but can work well as a quick fix.
Step 5: How to Repair Deep Gouges in Wood Furniture
Deep gouges that have removed real wood material are more work, but they’re absolutely repairable on solid wood furniture, which is one of the key advantages of investing in real wood over engineered alternatives.
Using Wood Filler
Wood filler (also called wood putty) is a thick paste that you press into the gouge with a putty knife, overfilling it slightly. Allow it to dry fully according to the manufacturer’s instructions. This can take anywhere from 30 minutes to several hours depending on the product and the depth of the fill.
Once dry, sand the area flush using progressively finer grits: start around 80 or 100 grit to knock down the bulk, move to 150, and finish with 220. Wipe away dust, then stain and finish to match the surrounding area.
One challenge with wood filler is that it doesn’t always absorb stain the same way the surrounding wood does. Pre-staining the filler before application, or using a tinted filler, can help achieve a more seamless result.
Using Epoxy Wood Filler
For structural repairs or very deep gouges, two-part epoxy wood filler is a stronger option. It’s harder than standard wood filler once cured, resists shrinking, and can be drilled or nailed. The tradeoff is that it doesn’t accept stain, so color matching must be done with paint or a tinted epoxy.
Patching with Real Wood
For large or unusually shaped gouges, the most professional-looking repair is to cut out the damaged area in a clean geometric shape (square or rectangular) and fill it with a matching piece of solid wood. This is a more advanced technique, but it produces results that are nearly invisible once stained and finished. If you’re not comfortable doing this yourself, a local woodworking shop with custom woodworking capabilities can handle it for you.
Step 6: Refinishing After the Repair
Once the scratch or gouge is repaired, restoring the finish to match the rest of the piece is what makes the repair truly invisible. Here’s a general refinishing approach for the repaired area:
- Clean the area with a tack cloth to remove all dust and debris.
- Apply stain using a small brush or cloth, working with the grain. Feather the edges so the stain blends outward rather than stopping abruptly.
- Let it dry completely before applying any topcoat.
- Apply a topcoat that matches the sheen of the rest of the piece — matte, satin, semi-gloss, or gloss. Polyurethane, lacquer, and Danish oil are all common options.
- Buff lightly with a fine steel wool (0000 grade) or 400-grit sandpaper between coats for a smoother finish.
Matching the original finish can be the trickiest part, especially if the piece is aged or was custom-finished. If you’re unsure what finish was originally used, a small test patch on an inconspicuous spot (like the underside of the piece) can help you experiment.
Tips for Preventing Scratches on Wood Furniture
Repairing scratches is satisfying, but preventing them in the first place is even better. Here are some practical habits that protect your furniture over the long haul:
- Use coasters and placemats to prevent objects from dragging across surfaces.
- Apply felt pads to the bottoms of lamps, vases, decorative items, and anything that sits on wood surfaces.
- Keep pets’ nails trimmed — pet scratches are one of the most common sources of damage on wood floors and furniture.
- Avoid harsh cleaners on wood surfaces; use a lightly dampened cloth and dry immediately.
- Apply a quality furniture wax or polish every few months to maintain a protective layer over the finish.
- Keep furniture out of direct sunlight where possible, as UV exposure can degrade finishes and dry out wood over time.
- Use tablecloths or runners on dining tables during meals.
Solid hardwood furniture is more resilient than most people realize, but it still benefits from consistent, basic care.
When to Call in a Professional
Some repairs are genuinely beyond DIY territory, and that’s okay. If your piece has:
- Extensive surface damage across a large area
- Structural damage like cracked joints or broken frame pieces
- Veneer peeling or lifting (on older or antique pieces)
- Significant finish damage where a full strip-and-refinish is needed
…then a professional refinisher or woodworker can restore it to like-new condition. The cost of professional refinishing is almost always lower than replacing a quality solid wood piece, and the result can be stunning.
Thinking About Upgrading? Consider Real Wood Furniture in Colorado Springs
If you find yourself repairing the same cheap furniture repeatedly, or if you’re thinking about investing in pieces that will actually hold up over time, it might be worth considering a switch to solid hardwood. Real wood furniture doesn’t just look better — it repairs better, ages better, and lasts decades longer than particleboard or MDF alternatives.
Final Thoughts: Real Wood Is Repairable Wood
One of the most compelling reasons to invest in solid hardwood furniture is precisely what this guide has demonstrated: it can be fixed. Surface scratches, mid-level damage, and even deep gouges are all manageable with the right materials and techniques. The same simply cannot be said for furniture made from laminate, MDF, or particleboard, where scratches often expose a core material that cannot be stained, filled, or refinished to look natural again.
Whether you’re dealing with a scratch from a wayward set of keys, a pet with sharp claws, or furniture that has simply seen years of good use, the steps above give you a clear path forward. Start by identifying the depth of the damage, gather your materials, work methodically, and take your time with the stain and finish matching.
With a little patience, your wood furniture can look as good or even better than it did the day you brought it home.
Have questions about wood types, finishes, or supplies for your repair project? Stop by CO Lumber & Real Wood Furniture at 3636 N. Stone Ave, Colorado Springs, CO 80907, or give us a call at (719) 389-0100. Our knowledgeable team is happy to help you find exactly what you need.