Ready to give your old wood furniture a new lease on life? Refinishing wood furniture can transform your worn-out pieces into stunning showpieces, and we’re here to guide you through each step. From assessing the condition and type of wood to applying the final topcoat, this article will provide you with the know-how to complete your project with confidence.
Let’s dive into the process of how to refinish wood furniture and help you accomplish a rewarding makeover.
Key Takeaways
- Before refinishing, thoroughly inspect your furniture for damage and understand both wood type and original finish to use the right refinishing methods.
- Stripping your furniture includes testing for lead, choosing the correct stripper based on your furniture’s needs, and carefully removing old layers without damaging the wood.
- Sanding is key for a smooth base before staining and should be done with the grain, finishing with a clear coat for protection and applying a final topcoat for a durable and beautiful finish.
Evaluating Your Furniture Piece
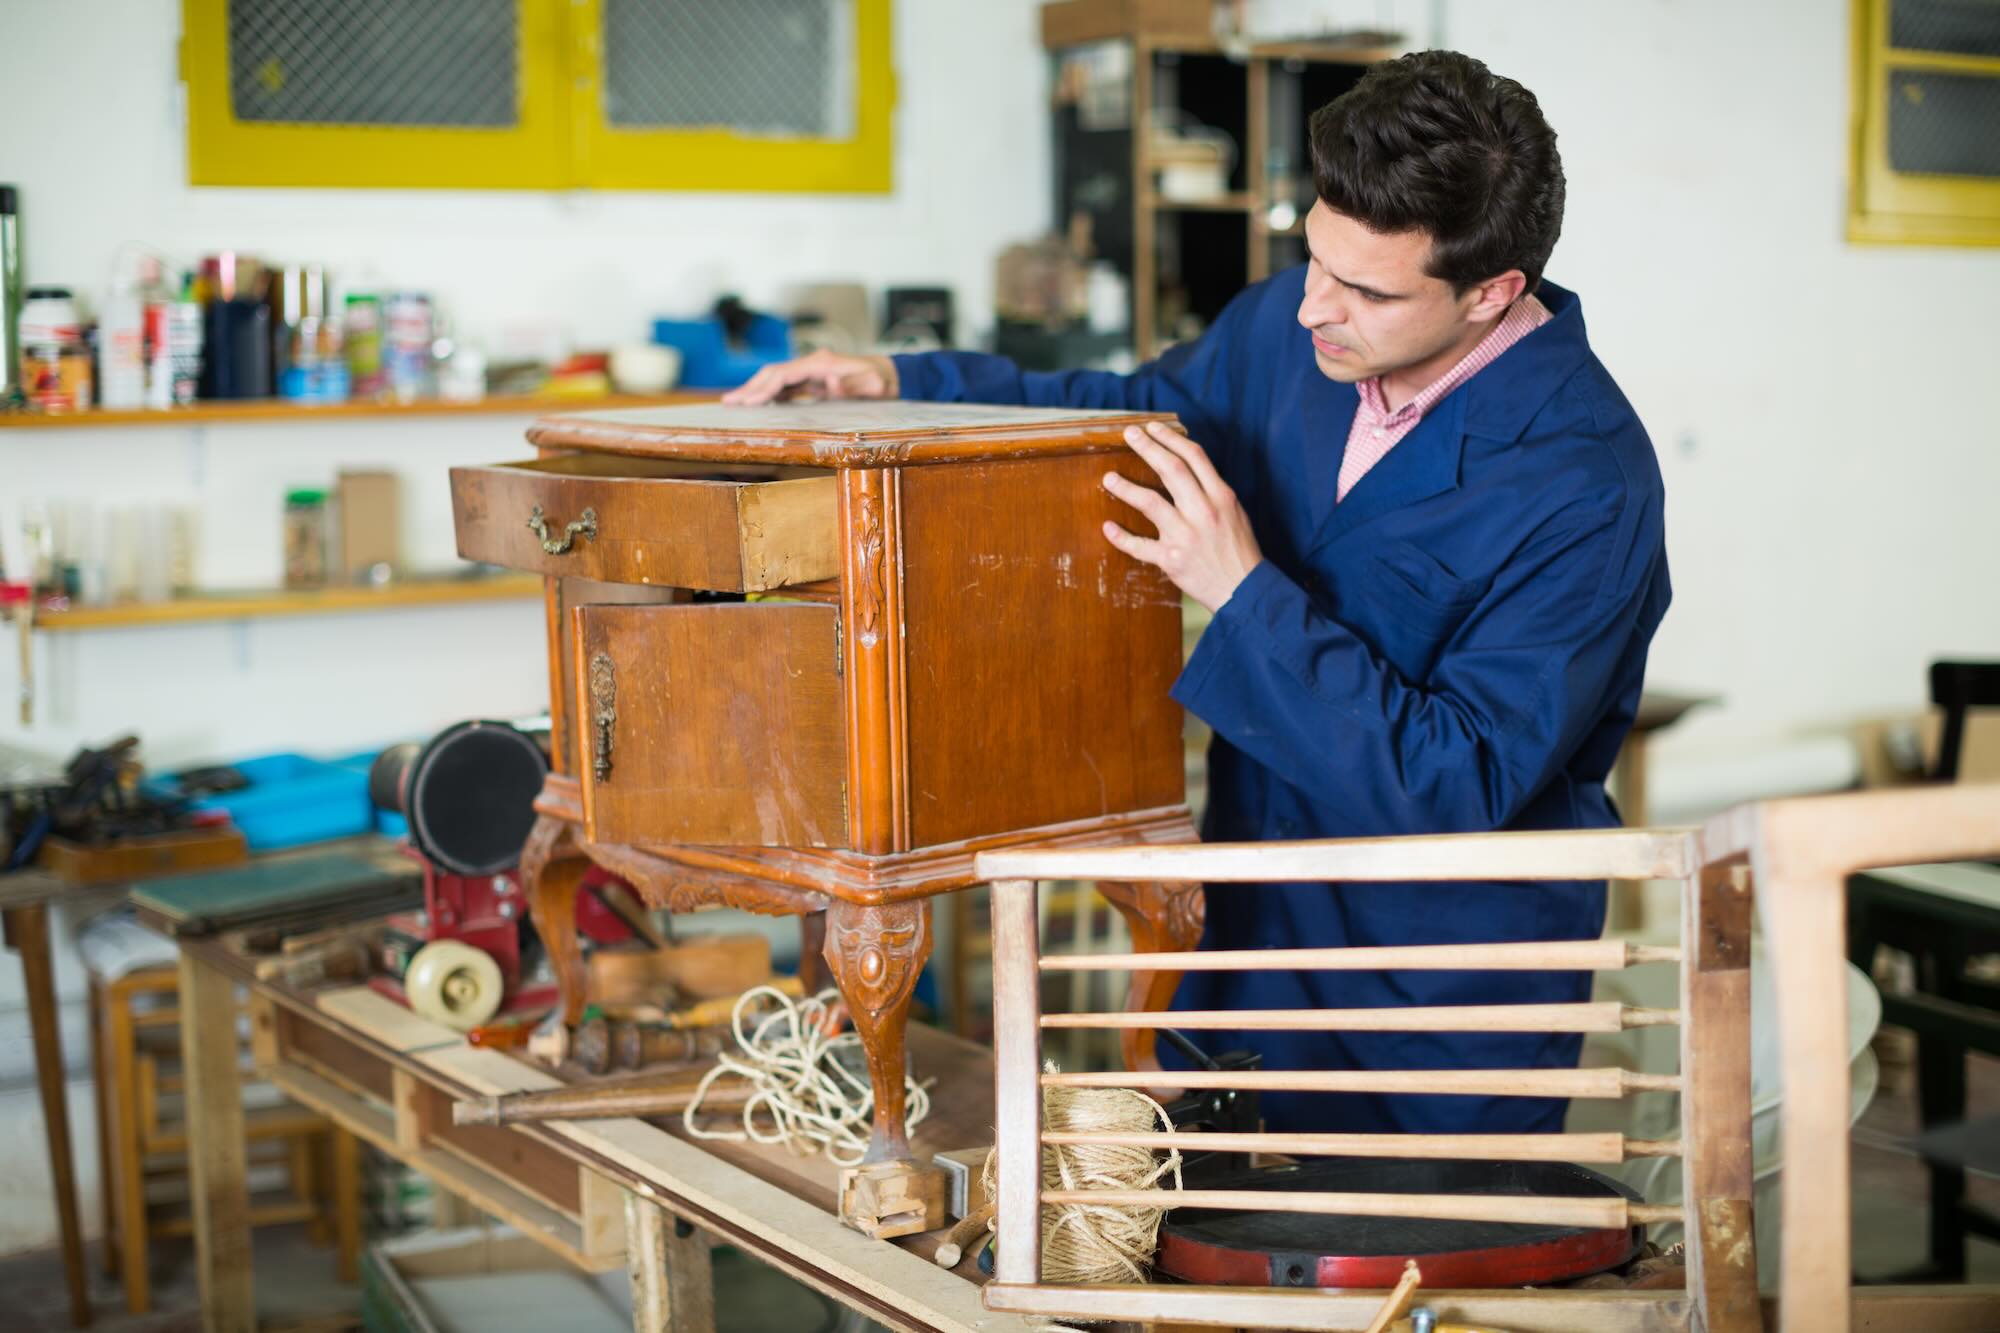
Before you begin the refinishing process, it’s essential to thoroughly assess your furniture piece. Cast a critical eye over every inch, searching for signs of wear and special attention areas. It’s akin to conducting a thorough diagnosis before treatment; without this careful inspection, you might miss crucial issues that could affect the final result.
Refinishing wood furniture requires both artistic skill and dedication, including the crucial step of finishing wood furniture. When it comes to refinishing furniture, consider the time and energy you’re willing to invest, as well as the financial cost. Some pieces, especially those with significant damage, may require furniture repair to restore them to their former glory. If you’re looking to refinish furniture, good lighting is your ally in this stage, revealing imperfections that might otherwise remain hidden in the shadows, waiting to sabotage your hard work.
Understanding the type of wood and the current finish is not a matter of mere curiosity, but key to choosing the appropriate refinishing techniques and products. Each wood type responds differently to strippers and stains, and what worked for one piece might wreak havoc on another. This initial step ensures that you embark on the refinishing journey with full transparency and the right tools in hand.
Stripping Away the Past
The old finish on your furniture piece holds memories of the past, but it’s time to strip them away to make room for new ones. This step is pivotal in the furniture refinishing process, preparing the wood for a fresh coat of paint or stain. However, it’s not without its hazards. Be aware that vintage pieces may harbor lead in their old paint or varnish—a toxic legacy best left undiscovered.
Before starting, it is advisable to use a lead test kit to safeguard yourself and your environment from potential lead paint hazards. It’s a quick and straightforward step that could prevent harmful exposure, especially when sanding can release dangerous lead dust. If lead is present, you must weigh the risks and proceed with the utmost caution, following strict health and safety precautions to protect yourself and others.
Selecting the Right Stripper
Selecting the appropriate paint stripper is akin to finding the ideal key to reveal the charm hidden beneath layers of old finish. Chemical strippers come in various forms—liquids, gels, semi-pastes, and pastes—each with its own set of advantages for different tasks. If you’re wrestling with shellac or lacquer, you’ll find solace in a solvent-based stripper, which can deftly remove these finishes.
Consider the type of wood and the existing finish when selecting your chemical stripper. Water-based options are kinder to the environment and your health, especially if you’re working in less-ventilated spaces or have allergies. However, for the tougher jobs involving polyurethane or paint, a heavy-duty stripper containing methylene chloride might be necessary—just remember to don safety gear to protect yourself from its harshness.
The Proper Technique for Stripping
With the appropriate stripper at your disposal, commence its application with meticulousness and patience. For finishes like shellac and lacquer, a rag soaked in the appropriate chemical provides the best start. Generosity is key—allow the stripper to sit and penetrate the old finish fully, giving it time to loosen its grip on the wood.
When the moment comes to scrape away the old layers, approach it with the gentleness of an archaeologist uncovering ancient relics. A plastic putty knife is your tool of choice, carefully lifting the softened finish without scarring the wood beneath. This is a delicate balance between force and finesse, with the reward being a clean canvas ready for the next chapter in your furniture piece’s life.
Prepping for Perfection
After the old finish has been stripped away, the real work begins. Sanding forms the transition from a rough past to a smooth future, establishing a base primed for a fresh finish. Start with coarse-grit sandpaper to remove any lingering remnants of the old finish and smooth out imperfections. But beware, as coarse grit can leave marks that become even more pronounced once the stain or finish is applied.
Progressing through the grits, you’ll move on to finer sandpapers, culminating in a super fine grade that polishes the wood to perfection—a necessary precursor to the final topcoat. This may be a time-consuming process, but it’s the foundation upon which the quality of your refinishing project rests. With full transparency, the aim is to achieve a surface so smooth that even the most discerning eye would be hard-pressed to find a flaw in the wood grain.
Sanding with the Grain
One of the cardinal rules in the realm of refinishing is to lightly sand with the grain. It’s a simple yet crucial technique that prevents unsightly scratches and ensures an even, smooth surface—paving the way for an impeccable finish. Start with a 150 grit sandpaper and then graduate to 220 grit to refine the surface further.
As you sand, remember to:
- Maintain even pressure
- Avoid applying too much force in one area, as it can gouge the wood and create valleys
- Follow the grain’s natural flow
- Use fine steel wool to gently buff away any remaining finish or debris, ensuring every last imperfection is addressed.
Cleaning Up Sanding Dust
The dust residue from sanding can pose a major challenge for refinishers. Meticulous removal of this dust is crucial, as even the smallest particles can disrupt the smooth application of stain or finish. A tack cloth is your best friend here, designed to pick up those fine dust particles that seem to cling to the wood with a stubborn grip.
For a truly clean slate, follow these steps:
- Use a soft-bristled brush attachment on a vacuum to whisk away the bulk of the sanding residue.
- Transition to a soft, slightly damp cloth and wipe the surface repeatedly until the dust is but a memory.
- Be patient in this step, as it will pay dividends when it’s time to apply your stain or finish, ensuring it adheres beautifully to the wood.
Staining to Showcase the Grain
The application of stain is when the enchantment occurs, allowing the wood’s authentic character to come to the forefront. The stain you choose can emphasize the natural beauty of the grain, paying homage to the wood’s character and history. With options like:
- oil-based
- water-based
- gel stains
- one-step finishes
Your choices are as diverse as the pieces you’re working on.
When selecting a stain for your project, consider the type of wood you’re working with. Some woods are thirsty, drinking in the stain and revealing a depth of color that’s breathtaking, while others are more reserved, requiring a light hand to achieve that perfect hue. Apply a sanding sealer to even out porosity and prevent the wood from absorbing too much stain, which can create dark areas and an uneven finish. Always test your stain on an inconspicuous area to ensure the color is just right before committing to the entire surface.
Applying Gel Stain Evenly
Gel stains are a great example of a product that offers control and ease of use, especially on hardwoods where achieving an even finish can be more challenging. Apply gel stain with a brush, laying down an even base layer that will accentuate the wood’s natural patterns.
After laying down the gel stain, blend it carefully into the wood, then wipe away any excess with a soft cloth to avoid pooling or dark spots. This careful balancing act ensures that the color is consistent across the entire surface, allowing the grain to be the star of the show.
Sealing the Deal: Choosing a Clear Coat
Upon attaining the ideal stain, proceed to seal it with a clear coat. This protective layer is your furniture’s shield against the elements—moisture, stains, and the wear and tear of everyday life. Polyurethane is a popular choice, offering a durable finish that’s resistant to water and alcohol, and it’s available in eco-friendly formulas with low volatile organic compounds for those who are environmentally conscious.
To ensure maximum durability, follow these steps:
- Apply 3-4 coats of clear coat.
- Allow each coat to dry completely before applying the next.
- After the final coat, allow the furniture to cure for 3-4 weeks. This will solidify the protective layer and provide long-lasting beauty.
Note: When choosing a polyurethane, use water-based for water-based paints and oil-based for oil-based paints. Avoid using oil-based polyurethane over light colors to prevent yellowing.
The Final Finish: Applying Topcoat
The topcoat symbolizes the pinnacle of your refinishing project, providing the final finish that uplifts your piece from satisfactory to splendid. Before you begin, ensure that the paint or stain beneath is completely dry. Rushing this step can result in a streaky, unprofessional finish.
When applying the topcoat, follow these steps:
- Use long, smooth strokes to minimize brush marks and air bubbles.
- Each coat should have ample time to dry—2 to 3 hours for water-based finishes and up to 24 for others—before lightly sanding and moving on to the next coat.
- Repeat this process for each coat.
This meticulous process, from ensuring proper drying times to sanding between coats, results in a finish that is as durable as it is beautiful, providing a fitting final touch to your labor of love.
Personalizing Your Refinished Piece
Refinishing goes beyond restoration; it presents an opportunity to inject your furniture piece with individuality and flair. By adding new hardware or decorative elements, you customize the piece, making it a reflection of your unique taste and the home it will grace. Consider replacing drawer knobs with period-appropriate hardware to enhance the authenticity of antique furniture pieces, providing a nod to their history while also adding your own touch. To restore antique furniture, refinishing is a great option that allows you to maintain its historical value and charm.
Companies like Hardware Tree offer a treasure trove of vintage-style hardware, enabling you to maintain the integrity of the piece’s period look while giving it a fresh lease on life. If you’re feeling adventurous, why not add a raised stencil for a three-dimensional effect, or use paint to add a design that’s all your own? These touches are what transform a simple refinishing project into a personalized work of art.
Breathing Life Into Vintage Furniture
While vintage furniture brings a touch of history and nostalgia, it need not be stuck in the past. By employing creative painting techniques, you can give these pieces a new lease on life, making them relevant and stylish once again. Some popular painting techniques for refreshing old furniture include:
- Faux finishes that mimic denim
- Rustic charm of a farmhouse crackle effect
- Distressed look with sanding and distressing techniques
- Chalk paint for a matte, vintage look
- Ombre effect with gradual color fading
The possibilities to refresh old furniture are endless.
Embrace the artistry of refinishing by adding textures and patterns that resonate with you. Bone inlay-inspired designs or old world finishes add a layer of historical character that is uniquely yours. Don’t be afraid to play with contrasting colors, such as the timeless elegance of black and gold, to create a piece that is as fashionable as it is functional.
Get Help From A Local Store
Occasionally, enlisting the aid of professionals is the most effective way to accomplish your refinishing objectives, as well as getting the expertise and care needed to ensure your project is a success. You are also able to find many services, including:
- Cutting wood to size
- Creating custom woodworking masterpieces like cabinets and tables
- Repair and restoration services for pieces with sentimental value or requiring special attention
Our custom woodworking shop prides itself on being customer-friendly, ready to assist with projects large and small. Whether you come in with a clear design concept or need help developing one, their team is equipped to bring your vision to life, ensuring that your refinished piece is everything you dreamed it would be.
Summary
As we come to the end of our journey, it’s clear that refinishing wood furniture is more than just a project—it’s a labor of love that breathes new life into old pieces, preserving their stories while allowing you to add your own chapter. From evaluating the furniture and stripping away the past to the final touches of a topcoat and personalized details, you now have the knowledge to turn a tired looking piece into a treasured centerpiece.
Embrace the satisfaction that comes from transforming a piece of furniture with your own hands. Whether it’s a family heirloom or a flea market find, the techniques you’ve learned here will help you create a masterpiece that’s not only beautiful but also imbued with meaning. So go ahead, pick up that paintbrush or sandpaper, and make your mark on the world of furniture refinishing.
Frequently Asked Questions
Do I always need to strip old paint or finish before refinishing a piece of furniture?
Yes, it’s important to strip the old finish before refinishing furniture because it ensures the new finish adheres properly and allows for proper inspection and preparation of the wood.
Can I refinish furniture without sanding if the surface seems smooth already?
No, it’s best to sand the furniture to create a smooth base for the new finish, even if it seems smooth already. Sanding helps to remove old finish and blemishes, providing an even surface for staining.
How do I choose the right type of stain for my furniture piece?
Choose the right stain for your furniture by considering the type of wood and the finish you want. Test the stains on a hidden area to see how the wood reacts and if the color matches your expectations.
How many coats of clear coat should I apply, and how long do I need to wait between coats?
To achieve a durable finish, apply 3-4 coats of clear coat, allowing each coat to dry for 2-3 hours before sanding lightly and applying the next coat. Water-based finishes tend to dry faster than oil-based ones.
What are some ways to personalize my refinished furniture piece?
You can personalize your refinished furniture by adding new hardware, decorative elements, or unique designs such as raised stencils or custom paintwork. This will help restore the piece’s character while making it uniquely yours.