Learn how to make a nightstand with this simple guide. You’ll find all the steps, tools, and tips needed to build your own stylish and functional piece of furniture.
Key Takeaways
- Creating a DIY nightstand allows for customization to fit personal style and room dimensions, often resulting in more affordable options than store-bought furniture.
- A comprehensive list of required materials and tools is essential for building the nightstand, including durable plywood, a circular saw, and the Kreg Pocket Hole Jig for strong joints.
- Key steps in the assembly process involve designing the nightstand for functionality, accurately cutting wood pieces, and ensuring proper finishing techniques to achieve a polished final product.
Why Choose a DIY Nightstand?
Creating a DIY nightstand lets you customize your furniture to fit your room’s dimensions and your personal tastes. Whether you need a taller bedside table to match your bed’s height or a compact design for a smaller space, you have the flexibility to adjust the measurements to suit your needs and room aesthetics. This level of customization is often unattainable with store-bought options.
DIY projects often lead to cheap, more affordable furniture than store-bought options. They also allow you to incorporate unique features, like heart-shaped holes or additional drawers, that reflect your deep style and needs, offering more function to your house creations.
The satisfaction of building your own furniture enhances the connection you have with your home decor.
Tools and Materials Needed
Before you start building your DIY nightstand, gather all the necessary tools materials and tools. You’ll need:
- Durable materials like 3/4′′ maple plywood for constructing the nightstand, as it provides a solid structure
- Alternatively, a weathered pallet for a unique charm
- For the frame, 10 boards, including sizes of 3×2 and 4×1
- Butcher block, suggested for its durability and aesthetics
A circular saw is necessary for cutting wood pieces accurately. A Kreg Pocket Hole Jig is useful for creating strong, hidden joints. Other important tools include:
- a drill
- nails
- screws
- clamps
Ensure the wood is dry to prevent warping and maintain strong joints.
To facilitate seamless assembly, use a Kreg Jig to create pocket holes for securely attaching the shelves. Always wear safety goggles to protect your eyes while cutting wood. With all tools and materials prepared, you’re ready to begin your DIY project.
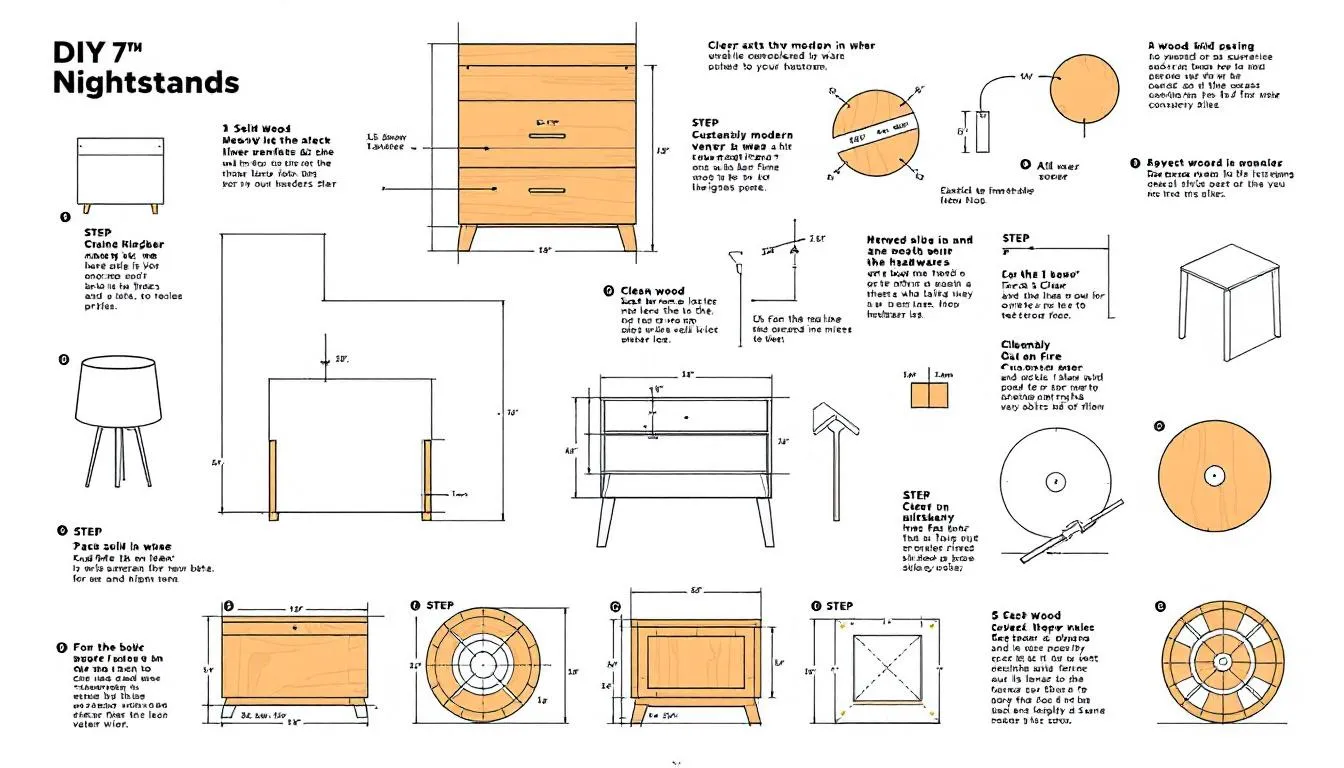
Step 1: Designing Your Nightstand
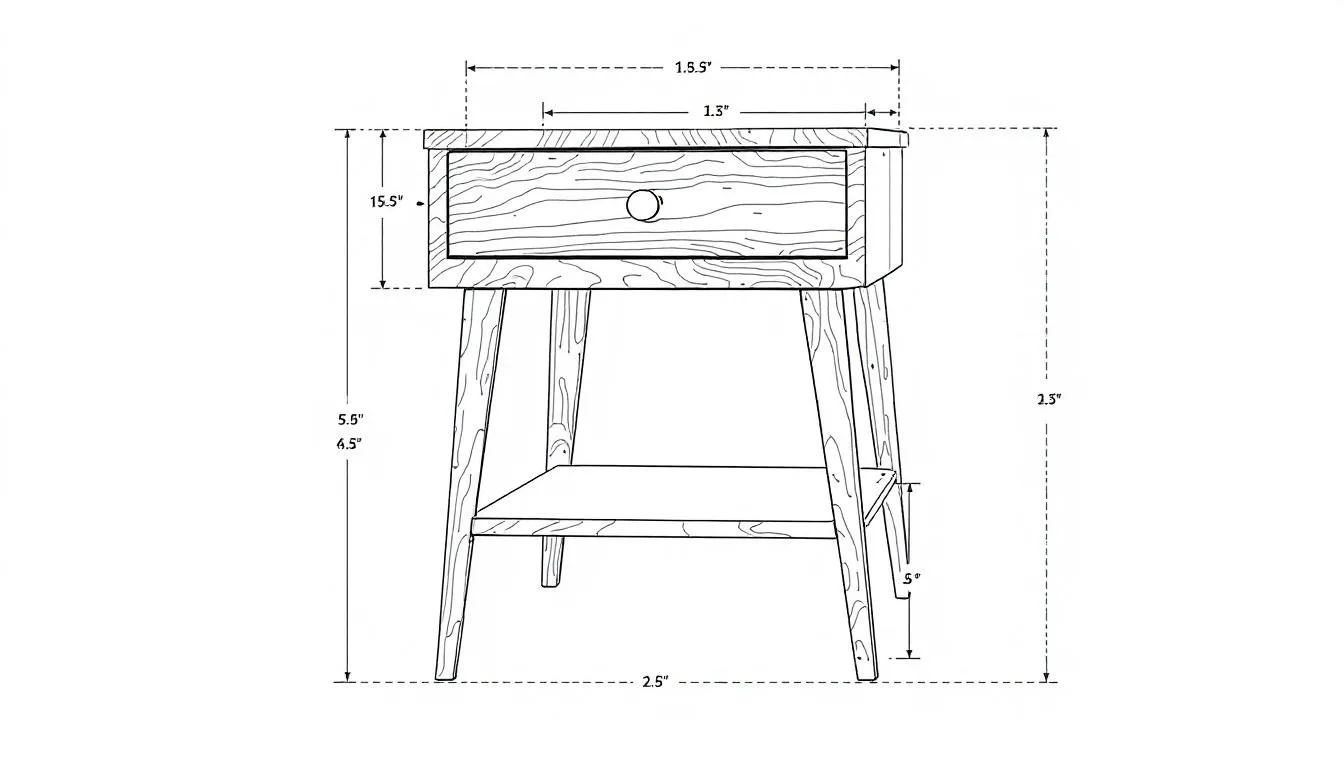
Begin by designing your nightstand. Consider its functionality based on what you typically keep on your bedside table, such as books, chargers, and decor. Plan your build efficiently to minimize waste; for instance, design your nightstand to get two pieces from one wood sheet.
Include features like drawers or shelves to increase storage capacity. For a cohesive look, consider building matching pieces, such as a dresser or shelving units, along with your nightstand.
Unique design elements, such as a heart-shaped hole, can give your nightstand a distinctive night edge note line bit details sight touch.
Step 2: Cutting the Wood Pieces
After finalizing your design, follow these steps for cutting the wood pieces:
- Use a circular saw for accuracy.
- Apply painter’s tape on the cut lines to prevent chipping and splintering.
- Always wear safety goggles to protect your eyes.
You will need four pieces: one for the top, two for the sides/legs, and one for the shelf. Measure the length and mark each piece carefully before cutting to ensure a perfect fit. This precision will make assembly much smoother.
Step 3: Assembling the Frame
With your wood pieces cut, begin assembling the frame. Make sure the pieces are cut to the correct size for a square frame. Clamp everything down and check for square before nailing. This step is crucial for the stability and appearance of your nightstand.
To assemble the frame:
- Use nails and optionally glue.
- Securely clamp the pieces together before nailing to keep the frame stable.
- Once assembled, double-check alignment to avoid issues in the next steps.
Step 4: Adding Shelves and Drawers
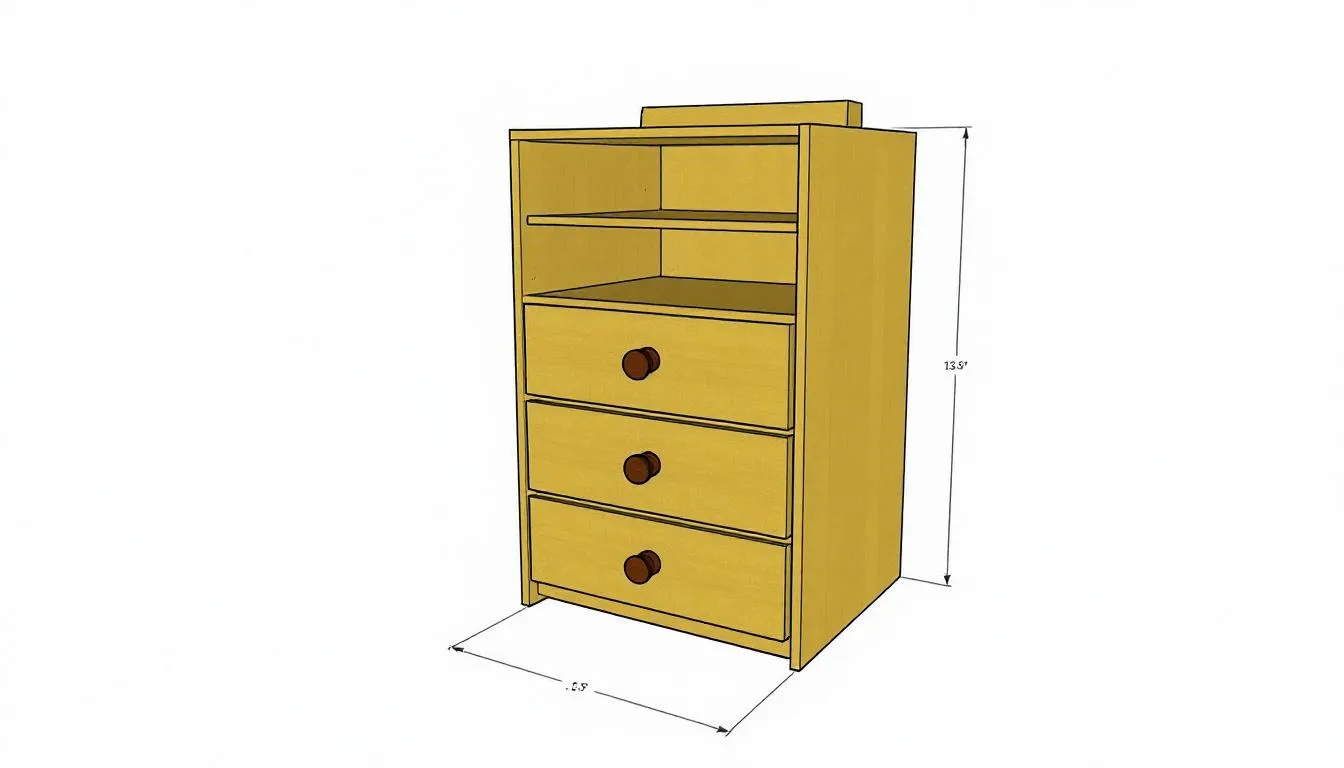
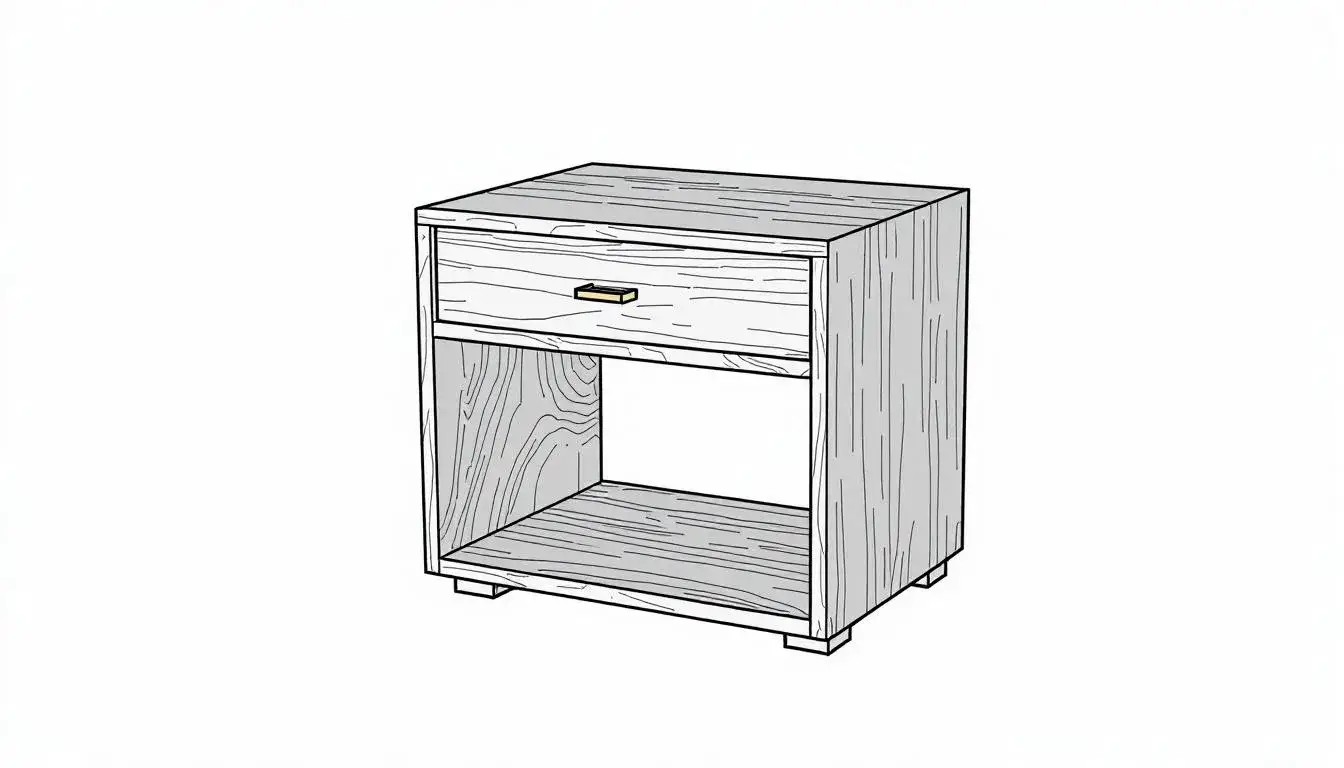
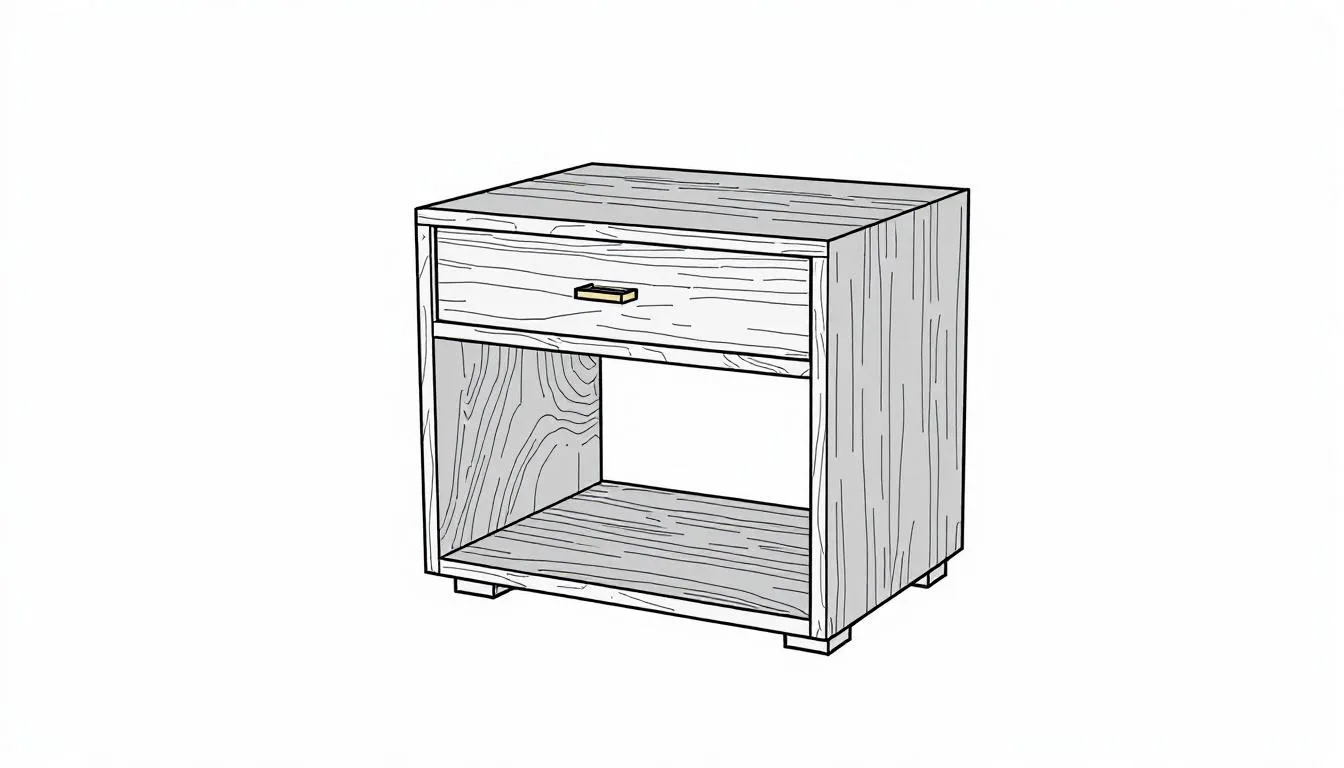
Adding shelves and drawers significantly enhances your nightstand’s functionality. Multiple drawers offer more storage options and keep essentials organized. Construct the drawer box frame using 1×4 lumber, secured with pocket holes. Ensure the drawer slides are level and aligned correctly for smooth operation.
To install the drawer slide:
- Attach wood to the inside sides of the nightstand for a flush surface.
- Drill pilot holes to prevent wood splitting when attaching drawer slides.
- Ensure the drawer face is slightly smaller than the opening to create appropriate gaps.
For an additional touch, add a bottom shelf. This provides more storage and enhances the nightstand’s overall aesthetic. Ensure everything is securely attached and aligned before moving on.
Step 5: Sanding and Finishing
Sanding and finishing are essential for a polished look. Follow these steps:
- Start with coarse sand (80 grit).
- Progress to finer grits (120 and 180) for a smooth finish.
- Perform final sanding after assembly to address any surface imperfections.
Once sanding is complete, follow these steps:
- Apply a clear varnish or sealant after staining to enhance protection and durability.
- Let the stain dry before applying a second coat for even color.
- Apply beeswax as a final coat for a natural sheen and extra protection.
Step 6: Final Assembly
In the final assembly:
- Align the top board and secure it with screws for stability.
- Ensure all corners are squared for consistency.
- Use clamps to hold the structure in place while securing the components.
Check for gaps between assembled parts and fill them with wood filler if needed. Let the wood rest before applying finishing touches. Ensure everything is securely fastened and aligned correctly.
Step 7: Installing Drawer Pulls and Hardware
Installing drawer pulls and hardware is the final touch. Mark the positions for the drawer pulls on each drawer front and drill pilot holes to prevent wood splitting and ease installation.
Use a level to align multiple drawer pulls uniformly across all drawers. Securely attach the drawer pulls using appropriate screws, adding both functionality and style to your nightstand.
Customization Ideas
Make your nightstand unique with various customization ideas. Using reclaimed wood adds character and supports sustainable practices. Combining pallet wood with metal or glass accents can add modern flair.
Ways to enhance or customize shelves include:
- An open shelf offers space for displaying decorative items.
- Decorative hardware can give a polished, customized appearance.
- Using different paint colors or stains creates a unique look that reflects personal style.
Mixing and matching furniture styles can create a unique aesthetic.
Maintenance Tips
Regular maintenance keeps your nightstand in top condition. To maintain it:
- Clean it with a damp cloth to maintain its appearance and prevent dust buildup.
- For deeper cleaning, use mild soap and water.
- Dry thoroughly to avoid moisture retention.
Periodic re-staining preserves the wood and enhances its natural beauty. Following these simple maintenance tips will keep your DIY nightstand looking great for years to come.
More DIY Furniture Projects
If you enjoyed building your nightstand, try other DIY furniture projects. Adding a bottom shelf to a pallet nightstand enhances its functionality and aesthetic. Wheels or casters can make it more mobile and versatile.
Crafting matching bedside tables or dressers can complement your DIY nightstand and bed. Personalize these projects with unique designs and materials to create custom nightstands that reflect your style.
Summary
Building a DIY nightstand is a rewarding project that allows you to create a functional and personalized piece of furniture. From designing to final assembly, each step offers opportunities for creativity and customization. The result is a bedside table that fits your space and style perfectly.
Whether you are a seasoned DIY enthusiast or a beginner, this project is achievable with the right tools and materials. Embrace the satisfaction of creating something with your own hands and enjoy the unique charm of your homemade nightstand.
Frequently Asked Questions
What type of wood is best for a DIY nightstand?
For a DIY nightstand, 3/4″ maple plywood is an excellent choice due to its solid structure, while butcher block or weathered pallet wood can offer both durability and aesthetic appeal.
How do I ensure my nightstand frame is square during assembly?
To ensure your nightstand frame is square during assembly, clamp everything down and check for square before nailing, while also using properly sized wood pieces. This careful approach will help achieve an even and stable structure.
What is the best way to finish my nightstand?
The best way to finish your nightstand is to sand the wood with progressively finer sandpaper, then apply a clear varnish or sealant after staining. For added protection, consider using beeswax as a final coat.
Can I add more storage to my nightstand?
Yes, you can increase storage in your nightstand by adding multiple drawers or incorporating a bottom shelf for additional space.
How do I install drawer pulls without splitting the wood?
To prevent the wood from splitting when installing drawer pulls, always drill pilot holes first. This technique facilitates easier installation and protects the integrity of the wood.