Wondering how to refinish a dining room table? Follow this simple guide that breaks down each step, from stripping the old finish to sealing the new one. With just a few tools and some time, you can transform your table into a stunning centerpiece for your home. Get ready to dive in and discover the satisfaction of a beautifully refinished table.
Key Takeaways
- Refinishing a dining room table involves key steps: stripping, sanding, staining, and sealing, all essential for a professional look.
- Safety is important – work in a well-ventilated area, wear protective gear, and have a bucket of water nearby for hazards.
- Take your time with the sanding and staining process for the best results, and don’t skip the sealing step to protect your work.
Refinishing a dining room table restores and protects it for continued use. It’s a DIY skill anyone can learn, regardless of experience level.
Refinishing a wood table is not just about aesthetics; it’s about preserving a piece of furniture that holds memories and serves as a gathering spot for family and friends. Imagine transforming an old table into a beautiful centerpiece that reflects your personal style and creativity.
If you’re considering this challenge, know that it’s entirely doable. Whether you’re a seasoned DIY enthusiast or a beginner, this post will provide the knowledge and confidence to refinish your dining room table. Let’s transform that old table into a stunning focal point in your dining room.
Preparing Your Workspace
Before starting the refinishing process, prepare your workspace. Refinishing a dining room table enhances its appearance and prolongs its life, but requires safe and efficient planning. Choose a well-ventilated area, such as an open garage or outdoor space, and ensure fresh air circulation with fans or open windows.
Gather all necessary supplies in advance to avoid interruptions. Tools like an orbital sander, putty knife, and chemical stripper are essential. Use a respirator mask when dealing with strong chemical fumes during stripping. Keep a bucket of water nearby to extinguish any potential fire hazards when using flammable solvents.
Place a drop cloth under the table to protect the floor from drips and spills, saving cleanup time later. Organize your tools and materials within easy reach to streamline the refinishing process significantly.
Setting up your workspace properly creates a safer and more efficient environment for your refinishing project. With everything set up, you can now move on to the first major step: removing the old finish.
Removing the Old Finish

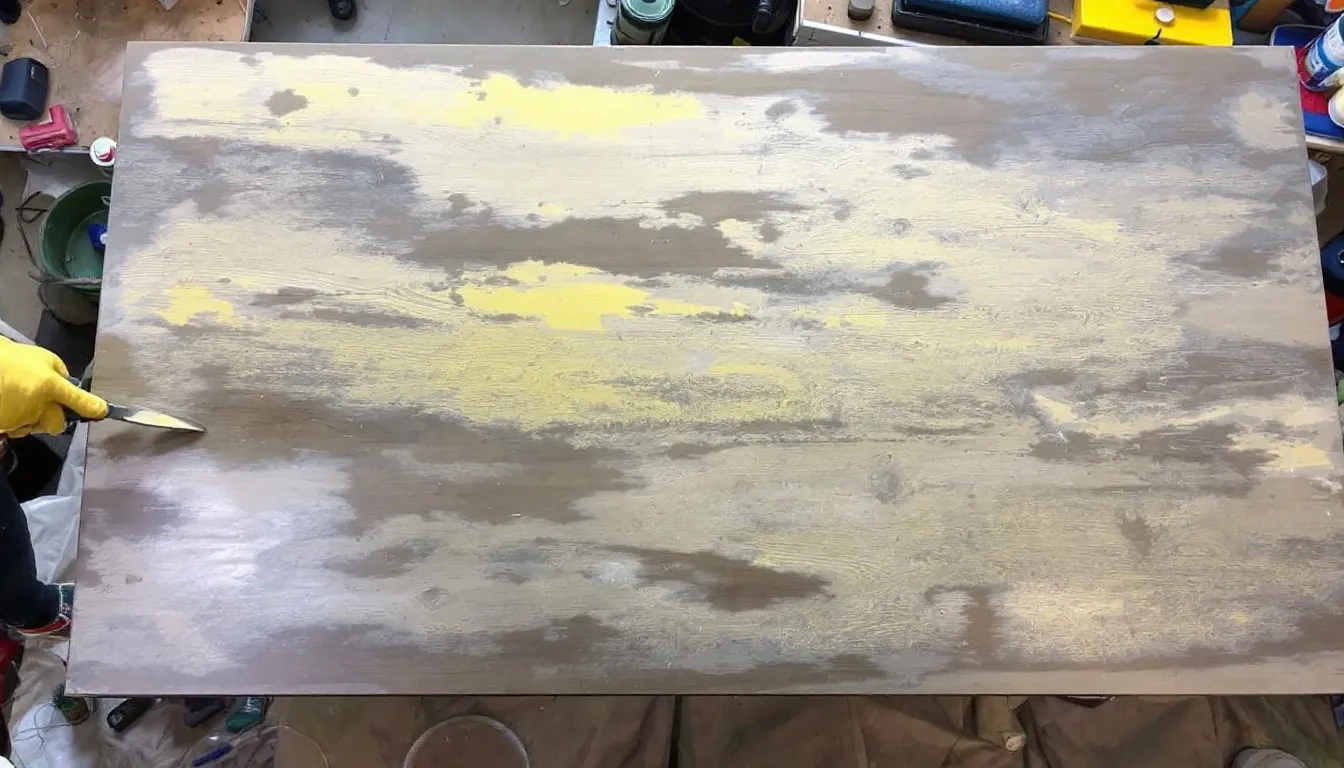
Removing the old finish is a crucial step in the refinishing process. Wear safety gear such as nitrile gloves and a respirator when using chemical strippers, as these products can be harsh. Using a chemical stripper significantly speeds up the process compared to sanding alone.
Start by thoroughly cleaning the table to remove any dirt or debris that could interfere with the stripper. Apply the chemical stripper according to the manufacturer’s instructions. Typically, brush the stripper onto the wood surface and let it sit for the recommended time. If the finish feels sticky while scraping, it isn’t ready yet.
Use a putty knife to gently scrape off the old finish, being careful not to damage the wood surface. For stubborn areas, steel wool can effectively lift the remnants of the finish. Patience and attention to detail are key; rushing through this step can result in an uneven surface that will affect the final outcome.
Chemical strippers are effective but must be handled with care. Work in a well-ventilated area and follow all safety guidelines. Once the old finish is completely stripped, move on to the next step: sanding the table.
Sanding the Table
Sanding the table ensures a smooth and even wood surface. Start with coarse sandpaper, like 80 grit, to effectively remove the old finish. This initial sanding also removes any remaining residue left by the chemical stripper. Once complete and no finish is coming up on the sandpaper, move on to a finer grit. An orbital sander is recommended to efficiently sand the surface while following the wood grain. This tool saves time and ensures more even sanding compared to doing it by hand.
After the initial sanding, inspect the table for any remaining rough spots or uneven areas. Lightly sand these areas to achieve a smooth finish. Sand in the direction of the wood grain to avoid scratches and maintain the wood’s natural look.
Sanding is time-consuming but essential for a quality finish. Taking your time to do light sanding will pay off in the final result. Once sanding is complete, the next step is to clean the wood surface thoroughly.
Cleaning the Wood Surface
After sanding, wipe the wood surface with a tack cloth to eliminate any dust particles. Dust can interfere with the adhesion of stain and sealant, leading to an uneven finish. If you don’t have a tack cloth, a microfiber cloth can also effectively remove dust.
Using a clean white cloth helps eliminate any remaining dust after vacuuming or brushing the wood surface. For an even deeper clean, consider wiping the surface with denatured alcohol, which evaporates quickly and doesn’t discolor the wood grain.
Ensuring the bare wood surface is completely clean sets the stage for a flawless staining process. With your table dust-free and pristine, move on to the exciting part: staining the raw wood tabletop.
Staining the Tabletop

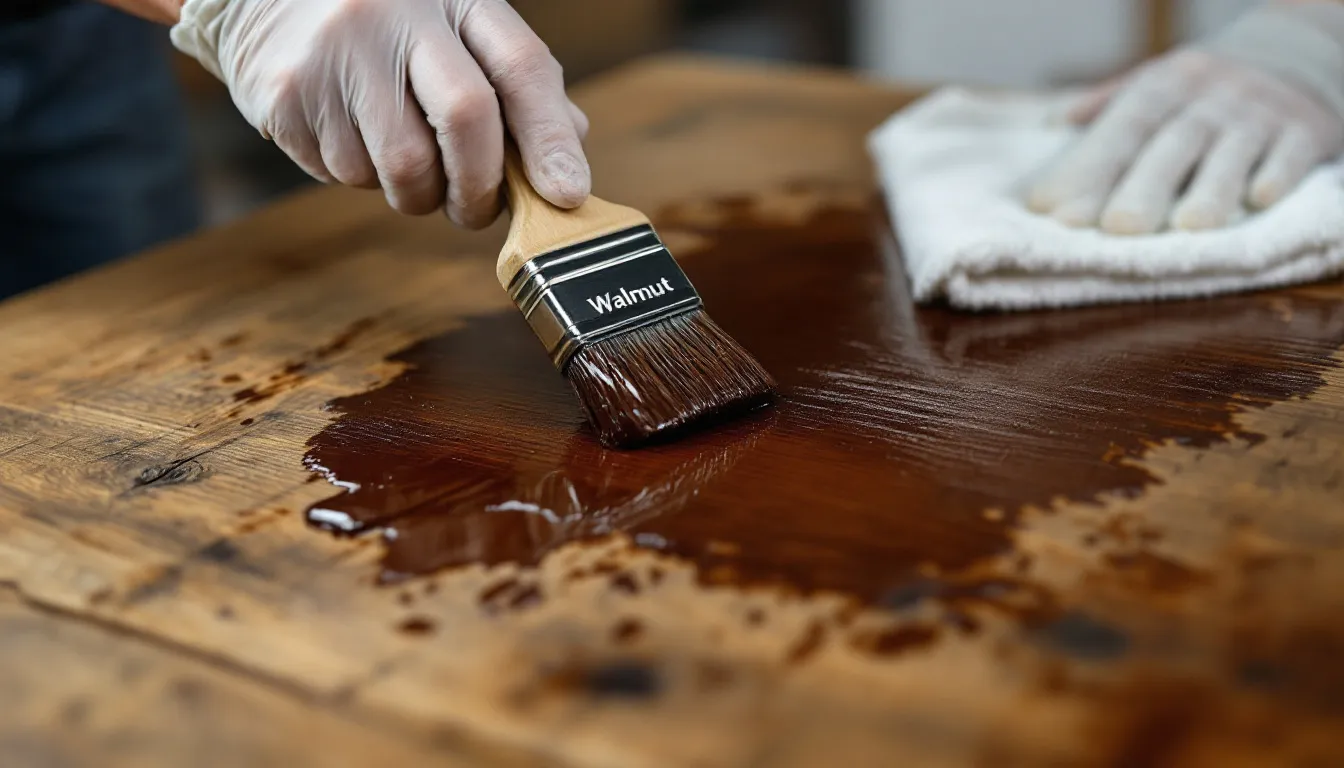
Staining the tabletop brings your table to life. Choose a stain color based on the desired aesthetic and existing wood tones. Oil based stain typically provides a rich color and is more durable than water-based options. Use a foam brush to apply stain evenly across the wood surface.
Apply wood stain in a well-ventilated area for safety and quicker drying. Apply the stain in the direction of the wood grain, using smooth, even strokes. Allowing the stain to penetrate longer leads to a darker finish. For a more pronounced grain effect, consider wiping off excess stain after a shorter period.
Apply multiple coats of stain to adjust the depth of color and achieve the desired finish. Typically, three coats are recommended for the best result. Let the first coat dry before applying another. For a deeper color, apply a second coat after waiting 4-6 hours.
Staining is a transformative step. With your tabletop beautifully stained, move on to painting the table legs for a complete makeover.
Painting the Table Legs

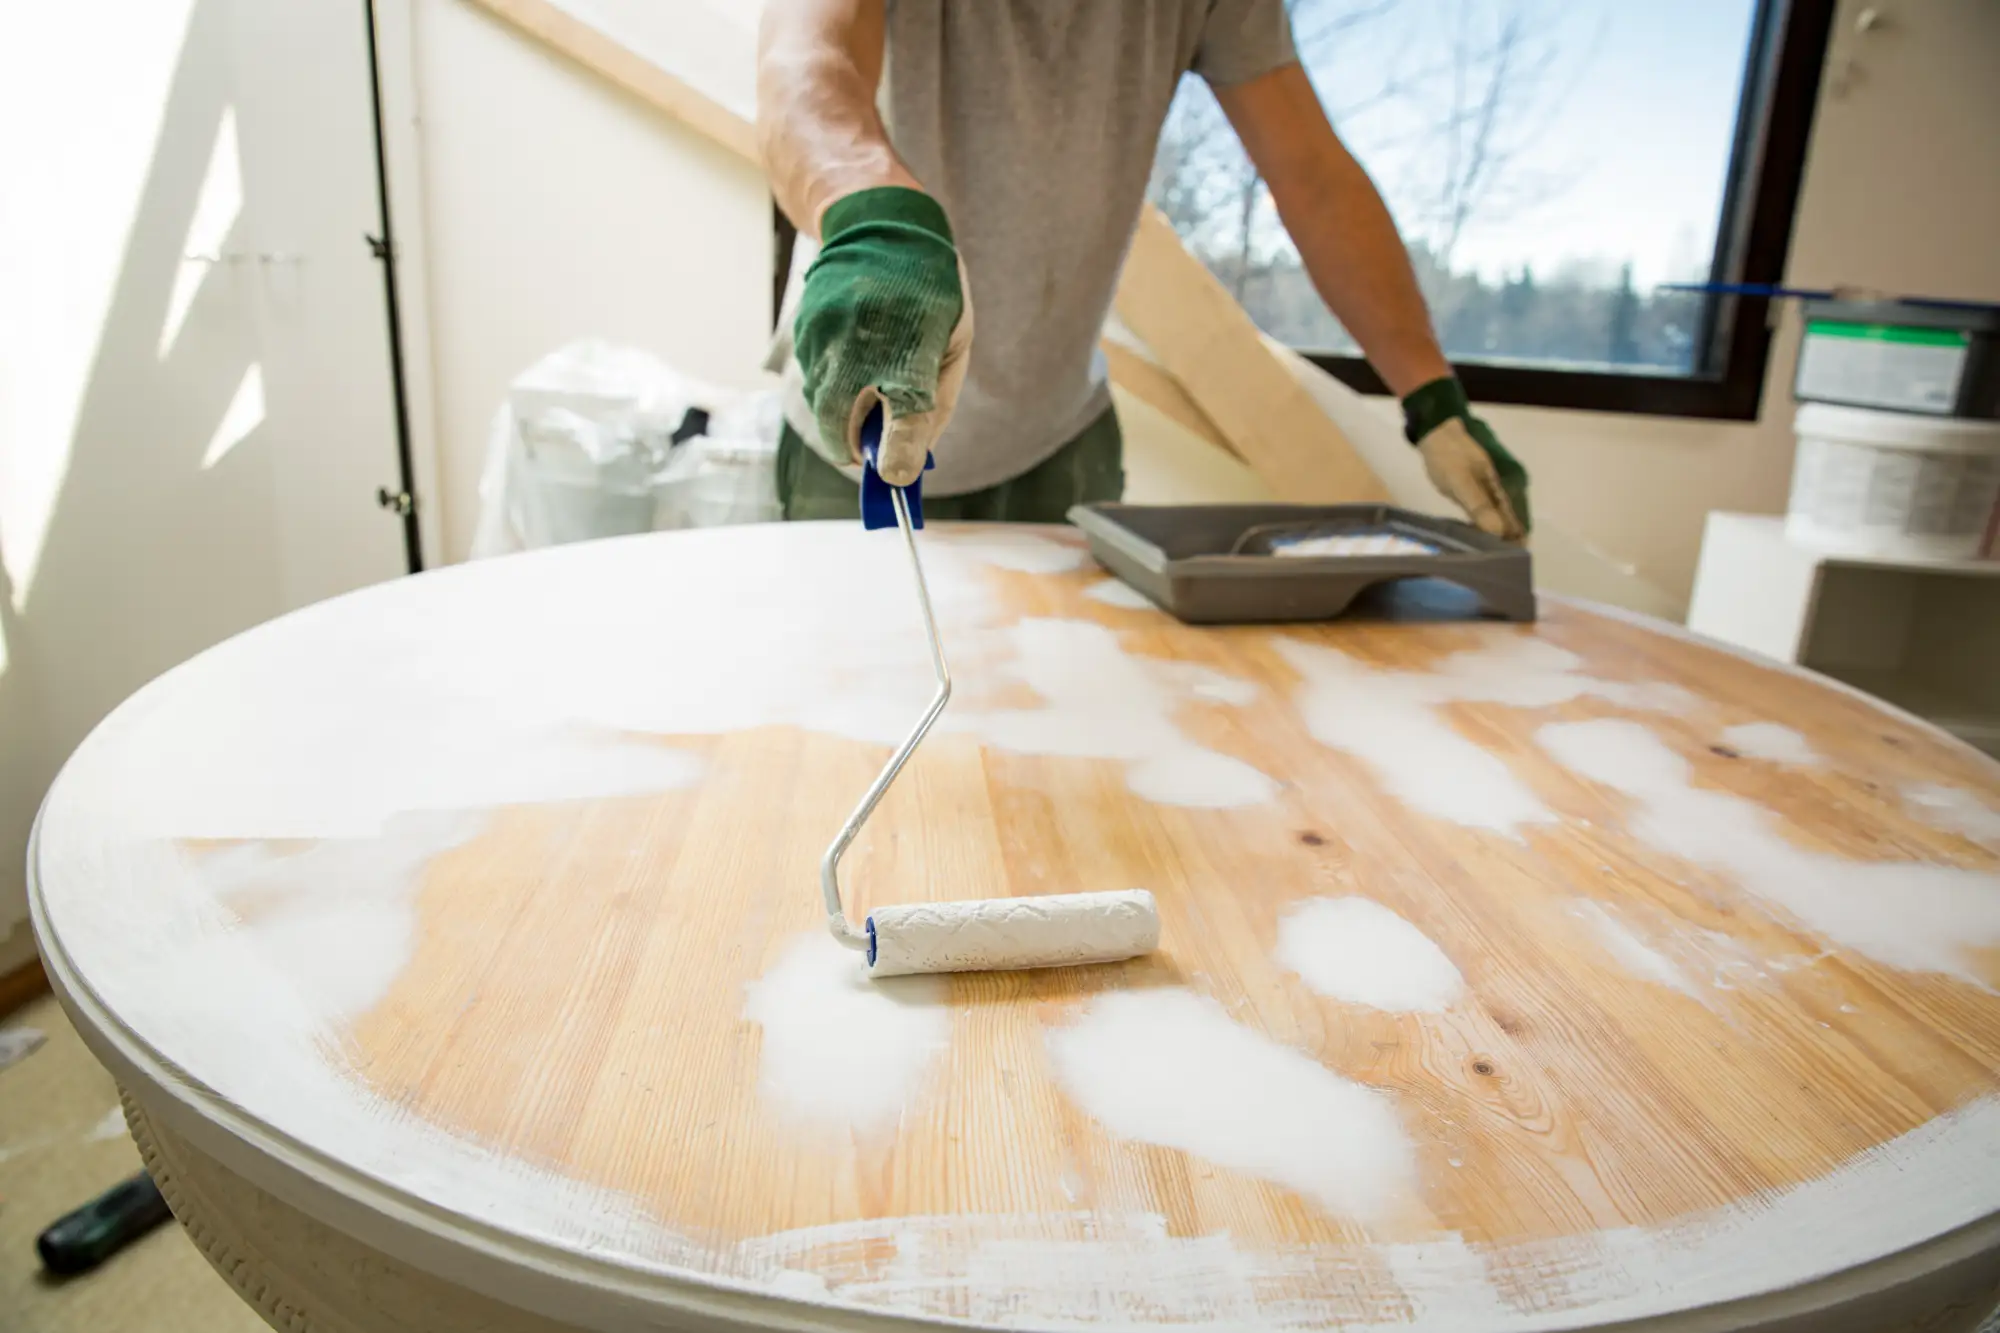
Painting the table legs adds a unique touch. Before you paint furniture, clean the surface thoroughly. Use a primer to help the paint adhere better and provide a smoother finish.
A good quality paint is recommended for painting table legs. For hard-to-reach areas, consider using a spray application for a smoother coat. Raise the table legs on cans while painting to prevent drips. Apply two coats for durability.
Check for drips frequently while painting to prevent imperfections. Once the paint is dry, admire the fresh, new look of your table legs. With the legs painted, it’s time to seal the tabletop to protect your hard work.
Sealing the Tabletop

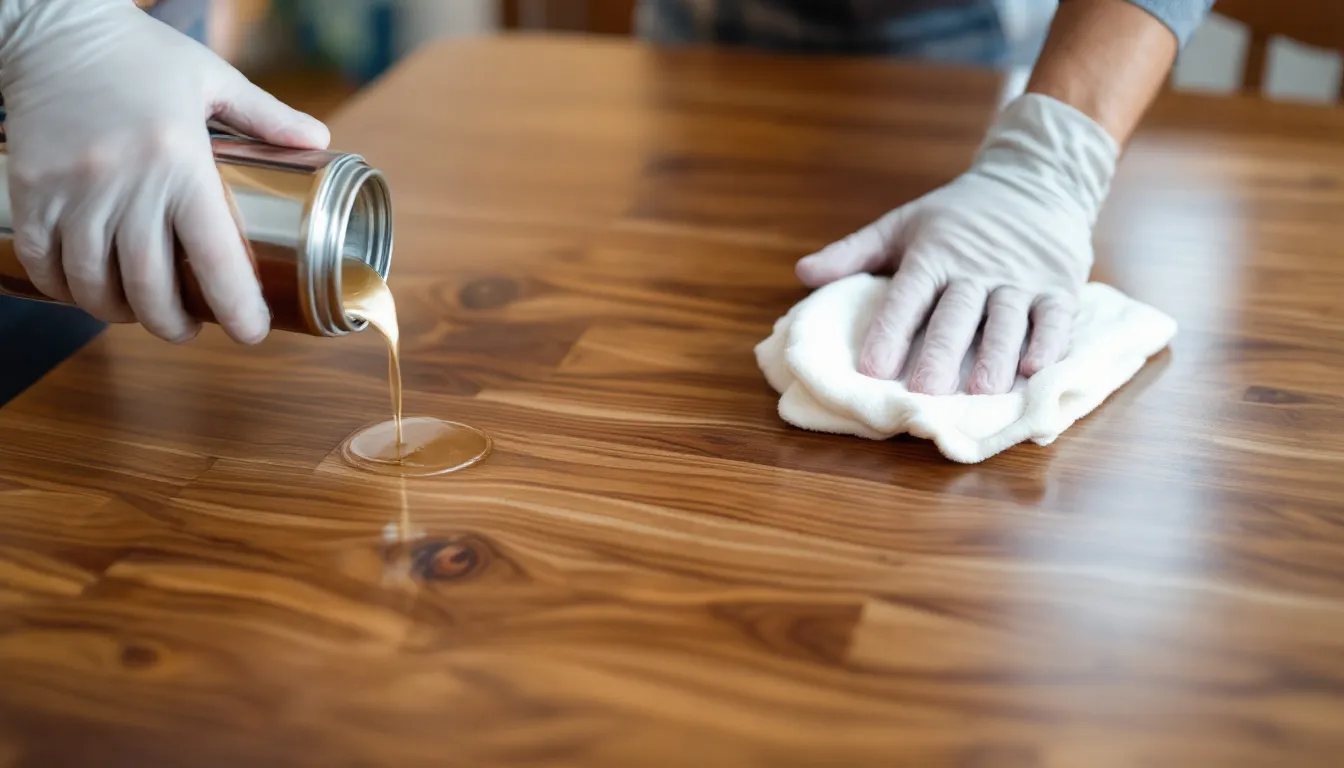
Sealing the tabletop protects your refinished table. Water-based polyurethane is a recommended sealant for easy clean-up and protection.
Use a foam brush to apply the sealant for optimal smoothness and control. Apply polyurethane in thin layers to avoid bubbles and achieve a smoother finish.
Typically, three to four coats of sealant should be applied for adequate protection. After the final coat, check for drips underneath the table and wipe them away to ensure a clean finish. With the sealant applied, your tabletop is protected and ready for use.
Adding Final Touches
Finishing touches make all the difference in a refinishing project. Curing time after the final coat can vary, taking several days to a week for proper hardening. To achieve a smooth final coat, rub the surface with a paper bag or kraft paper.
Inspect the finished piece for any imperfections, ensuring the finish is even and free of dust or debris. If there are missed spots, touch them up with the same stain or paint used previously, ensuring consistent color and finish.
With these final touches, your dining table is now ready to be the centerpiece of your dining room.
Summary
Refinishing a dining room table is a rewarding project that can transform an old piece of furniture into a stunning centerpiece. Remember, patience and attention to detail are key. Take your time at each stage to ensure the best possible outcome. With your refinished table now ready, you can take pride in knowing that you’ve extended its life and enhanced its beauty. Happy refinishing!
Frequently Asked Questions
What type of chemical stripper should I use to remove the old finish?
Go for a chemical stripper that’s designed for wood finishes to make the job easier and faster. Just remember to follow the instructions on the label for the best results!
What grit sandpaper should I use for sanding the table?
You should kick things off with 80 grit to strip off that old finish, then move up to 120 grit for a smoother surface, and wrap it up with 220 grit for that nice, sleek feel.
How many coats of stain should I apply to the tabletop?
For the best finish on your tabletop, aim for three coats of stain. Just make sure to let each coat dry before applying the next one!
What type of paint should I use for the table legs?
You’ll want to go with a good quality latex paint for those table legs since it covers well. If you’ve got tricky spots to reach, grab a spray can for a nice smooth finish.
How many coats of sealant should I apply to the tabletop?
You should apply three to four coats of sealant for solid protection. Just remember to use a foam brush and sand lightly between coats for a smooth finish!

